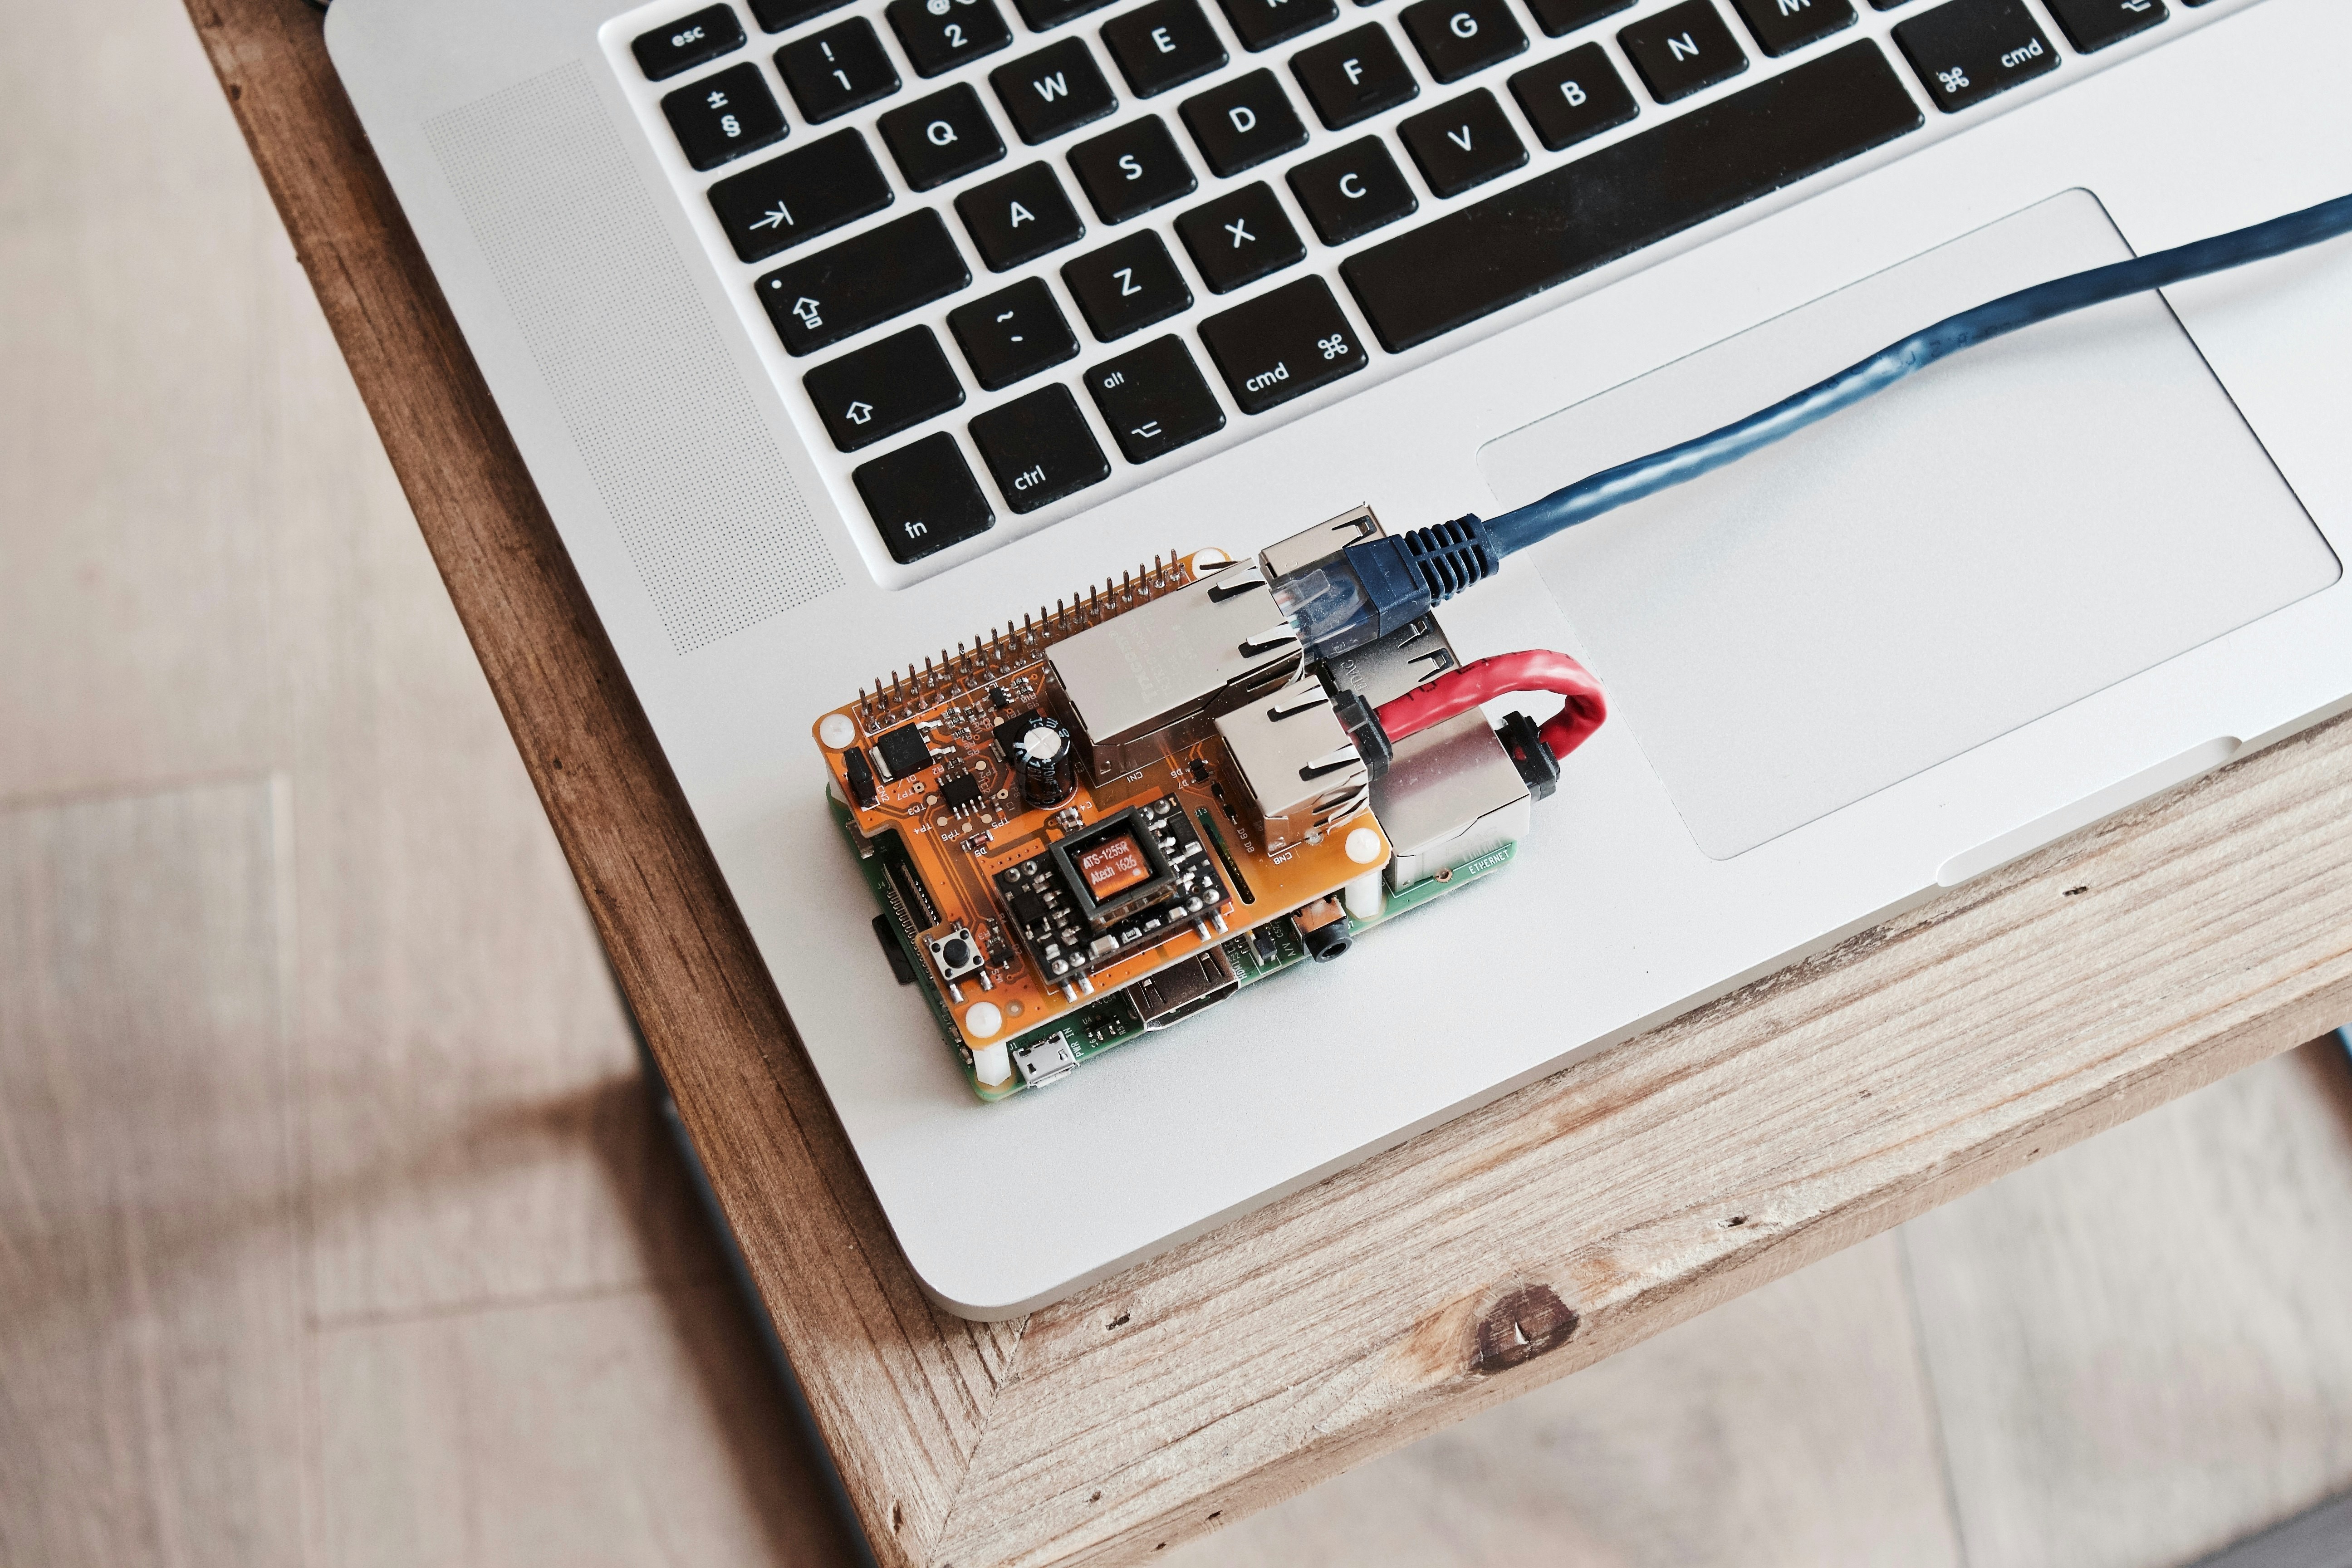
Today I received my Raspberry Pi in the mail and I was stoked to power it up. There is something cool about having an open circuit board sitting on your desk and it loaded with only a bare bones Linux distro. As a result I am likely going to write a lot of posts over the coming weeks about my experiences with getting it up and running.
The first thing I did was plug it in, but due to wanting to conserve power and be good the environment, I am mostly going to use the device via SSH / VNC, so the first thing I wanted to do was configure that. Naturally it didn’t work out of the box right away, but with a little bit of playing around it was up and running in no time.
So, just to recap….
Host: Raspberry Pi, default Ubuntu distro Client: Mac
The first thing you need to do is install TightVNC. The instructions are borrowed from eLinux, but I’ve made a nice little Gist you should be able to just copy and run.
The next thing you want to do is create a nifty little VNC shortcut somewhere. This allows you to quickly launch your native Mac OS X Screen Sharing app. Remember to replace pi with your username, your.ip.address.here with your Raspberry Pi’s IP address, and 5901 with your port if you used a non-standard port.

